Can you use a laptop without a PrintScreen button to screenshot the screen? You are not alone, so unwind! Let’s see How To Screenshot On A Laptop Without the PrintScreen .utton.
Many laptops today no longer have the PrintScreen key as manufacturers try to create thinner and slimmer designs. Contrary to what many people think, capturing screenshots on a computer is not difficult without specialized hardware. You can use various techniques to quickly record anything you need on your computer, from amusing Twitter memes to problem messages. We’ve compiled a list of efficient laptop screenshot methods that you may use anytime you need them as a service.
Different Methods to Screenshot on a Laptop
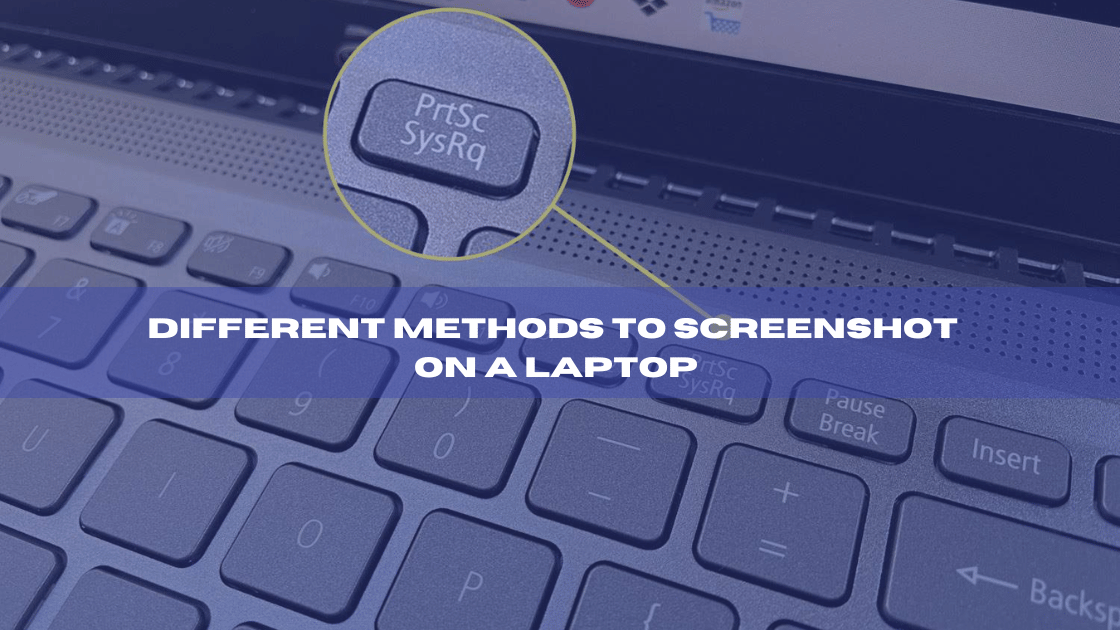
Keep reading to learn about all the incredible tools you have at your disposal. Here is a list for you:
● Use the Windows Snipping Tool
You may easily capture snapshots of your screen with the Windows Snipping Tool. You may record everything from full-screen images to rectangular chunks of the screen with this feature, which is built into every version of Microsoft Windows. Open the Windows Snipping Tool from the Start menu and click the “New” button to begin taking screenshots and utilize it. The region you wish to capture may be chosen using the mouse, and then the picture file can be saved.
Did you know that you may select from various shapes in addition to the rectangular area used by default to snap screenshots?
Use the Free-form Snip option for a custom shape or Window Snip to capture the active window. If you want the whole screen, use the Full-Screen Snip option. Remember that the Snapping tool captures what you see on your screen, even if a window overlaps with another. Make the perfect Screenshot with Snapping Tool’s versatile options.
● Use Keyboard Shortcuts
If you have a Microsoft keyboard with a Windows logo key, you can use keyboard shortcuts to take screenshots quickly. Press the ‘Windows+PrtScn’ keys together, and your screen will automatically be saved as an image file in your Pictures folder.
If your keyboard lacks one, you must hit the ‘Fn+PrtScn’ keys instead of the Windows logo key. Later, you may modify and save the full-screen Screenshot as an image file.
● Use Third-Party Apps
If the Windows Snipping Tool or any other built-in screenshot tools are unavailable, consider downloading a third-party utility like Lightshot or Greenshot. Both of these excellent apps allow you to easily take and modify screenshots and offer a wide range of additional capabilities, including sophisticated picture editing tools, unique shortcuts, and more.
● Using the Windows Game Bar
If you’re using Windows 10, you can screenshot the game bar directly. To start, open the game bar by pressing the Windows+G keys simultaneously. Once you have done so, click “Start Recording.” Your current screen will be captured as a snapshot. The Screenshot you’ve taken is conveniently located in the “Videos” folder.
● Using the Windows Key Combinations
The Windows key combos may be used to snap screenshots on laptops running Windows 8.1 or 10 rapidly. Your screen will immediately be taken as an image file in your Pictures folder if you click the “Windows” and “Volume Down” buttons simultaneously.
● Using Browser Extensions or Web-Based Tools
Sometimes, you may need to take a screenshot of a webpage or application that doesn’t have any built-in screenshot tools. In such cases, you can use browser extensions like FireShot and Awesome Screenshot or web-based tools like Snapito and Webpage Screenshot Capture to capture whatever you need quickly.
● Using Screen Recording Software
Consider using a screen recording tool like Camtasia or Screencast-O-Matic to capture more than screenshots. These programs allow you to record your entire desktop or just specific parts of it. You can also record audio and webcam footage. They are perfect for creating tutorials, demos, or even videos of gameplay.
● Capturing Screenshots via Remote Desktop Applications
Consider utilizing a remote desktop program like TeamViewer or Splashtop to capture a snapshot of another person’s screen. These applications let you use your device to access and manage other computers remotely. The screen of the distant computer can then be captured in a screenshot.
● Use Different Modes
Easy Screenshot Capturing: Many laptops come with various settings for taking screenshots. The “Fn” key may be used to quickly switch between several modes, including “Tablet” and “Mirror” modes. No additional complex instructions or software are required.
These various modes might provide quick and straightforward access to screenshot tools that are not generally available. Using a Mac laptop makes taking screenshots considerably simpler, to sum up. Your screen will instantly be taken as an image file on your desktop if you simultaneously press the “Command+Shift+3” keys.
Taking Screenshots of Different Operating Systems
Screenshots can be easily captured on a Mac or Linux device! Just click ‘Command+Shift+3’ on your Mac to immediately save the full-screen image to your desktop. Linux users may rapidly take screenshots by selecting “Print Screen” or a third-party program like Shutter. No matter what device you prefer, there is always a technique that will work for your screenshot requirements.
With these many techniques for taking screenshots on a laptop, it is now simple to capture any moment.
Tips for Enhancing Screenshotting Experience
Now that you are aware of the several techniques accessible, the following tips will help you improve your laptop screenshotting experience:
- Organize and store screenshots in folders so they’re easy to find when needed.
- If you need to capture a large area or multiple windows at once, use the Windows Snipping Tool’s ‘Delay’ feature to give yourself time to arrange the windows accordingly.
- If you’re using a browser-based tool or extension, ensure it’s up-to-date to get the most out of its features.
- Use image editing tools such as Photoshop or GIMP to customize further and enhance your screenshots.
- Try different shortcuts and modes to find the one that works best for you.
Conclusion
Using these techniques, you can take screenshots in Windows without a Print Screen key. Try one of these and rethink your screenshot workflow because using an alternative method is quicker and more flexible than pasting into Paint. After taking a few screenshots, you ought to be able to improve their appearance.
Applying the advice in this article and the techniques covered above, you can easily take screenshots on your laptop without a PrintScreen button. So now, get out there and start gathering the information you require.
FAQs
How do I use my laptop to take a screenshot manually?
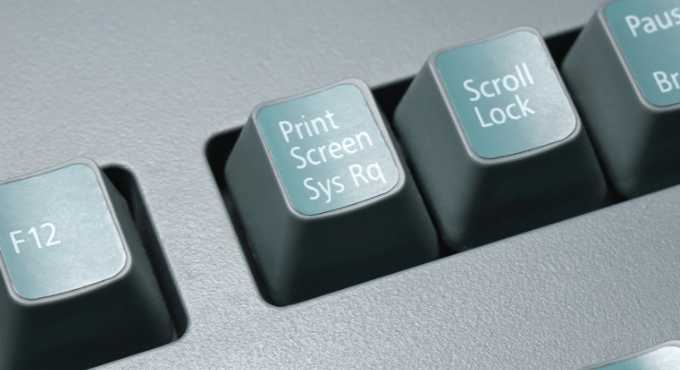
To take a screenshot of the entire screen, press the PrtScn or Print Screen button. In Windows, you can take a screenshot of your full screen by pressing the Print Screen button, which is found in the upper right corner of the keyboard. This button essentially copies the screen to the clipboard.
Why does not PrtScn function?
The Windows Print Screen button may not function due to an outdated or incompatible keyboard driver. If the above solutions have failed to resolve the screenshot problem, you can try updating your keyboard driver. To open the Device Manager, press “Win + X” and click the appropriate link.
What key is HP Print Screen?
Press the “Print Screen” or “PrtScn” keys on your keyboard. The keys may be labelled “Print Scr,” “PrntScrn,” or something similar, typically found near the top-right corner of the keyboard. When you do this, your entire screen will be captured and saved to the clipboard.

